
Sunday comes bright and early and I decide to put the FM broadcast band notch filter into a die-cast aluminum box.
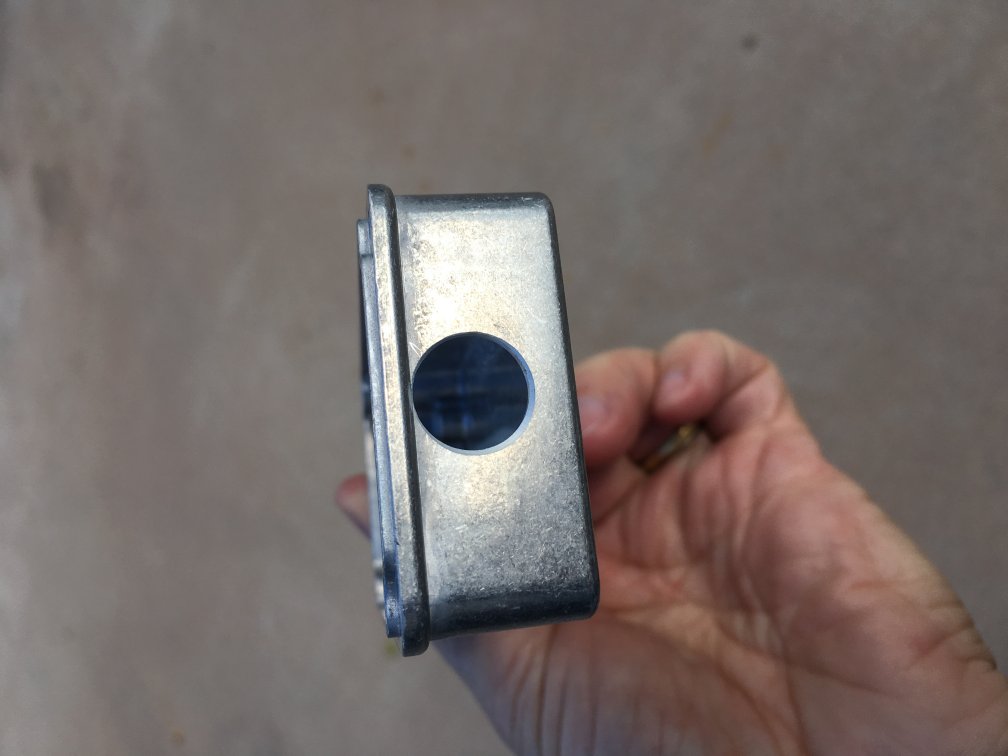
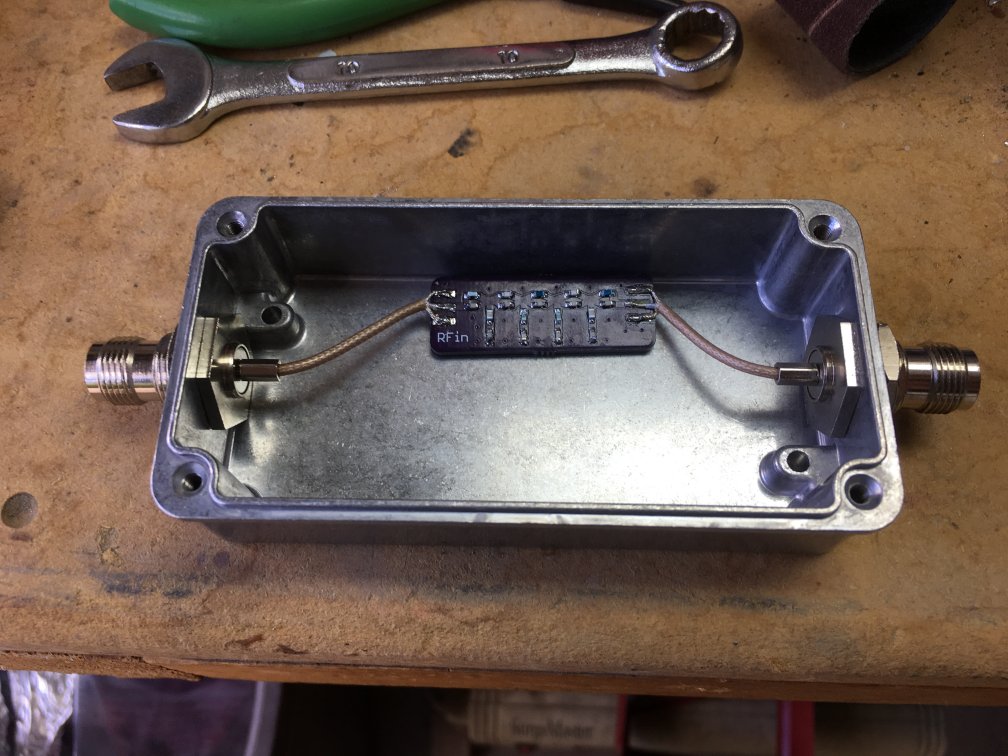
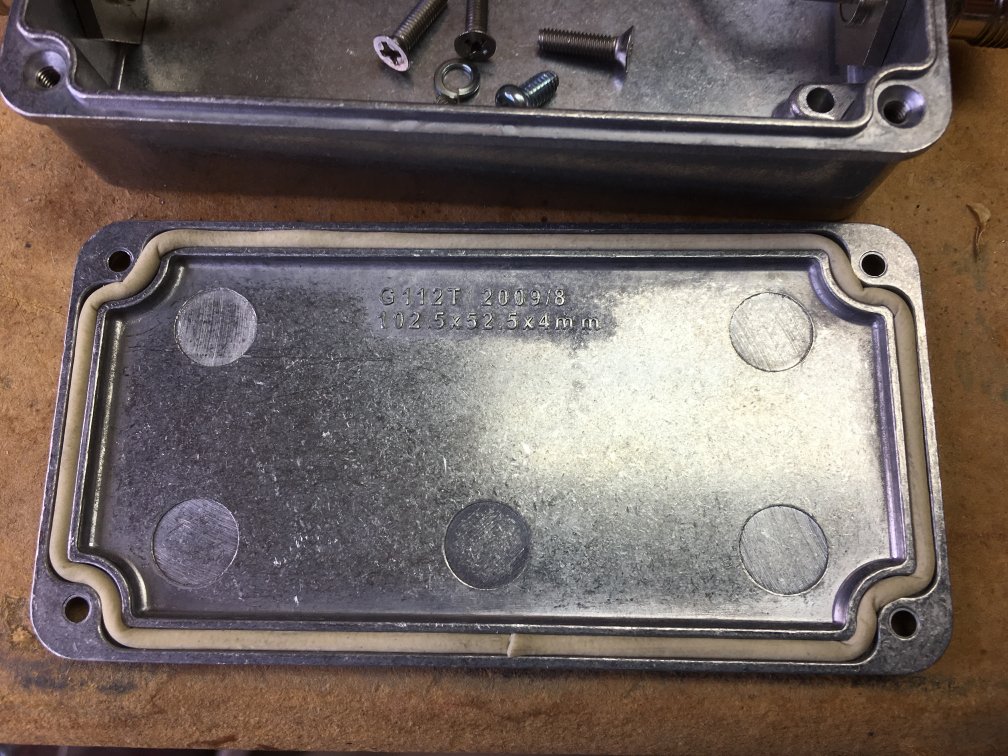
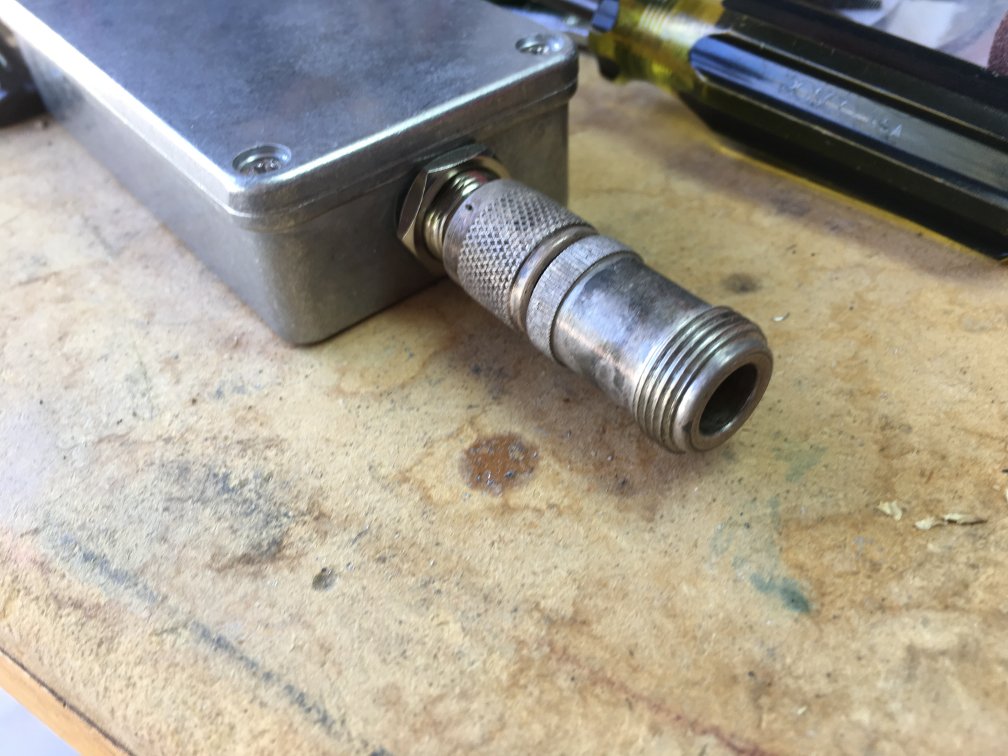
First, I found in the garage the G112T box I had purchased a long time ago. Measuring somewhat carefully, but not enough, I estimate the spots on the two ends of the box that I’ll have to put 1/2″ holes to install these little TNC-f to coax pigtails.
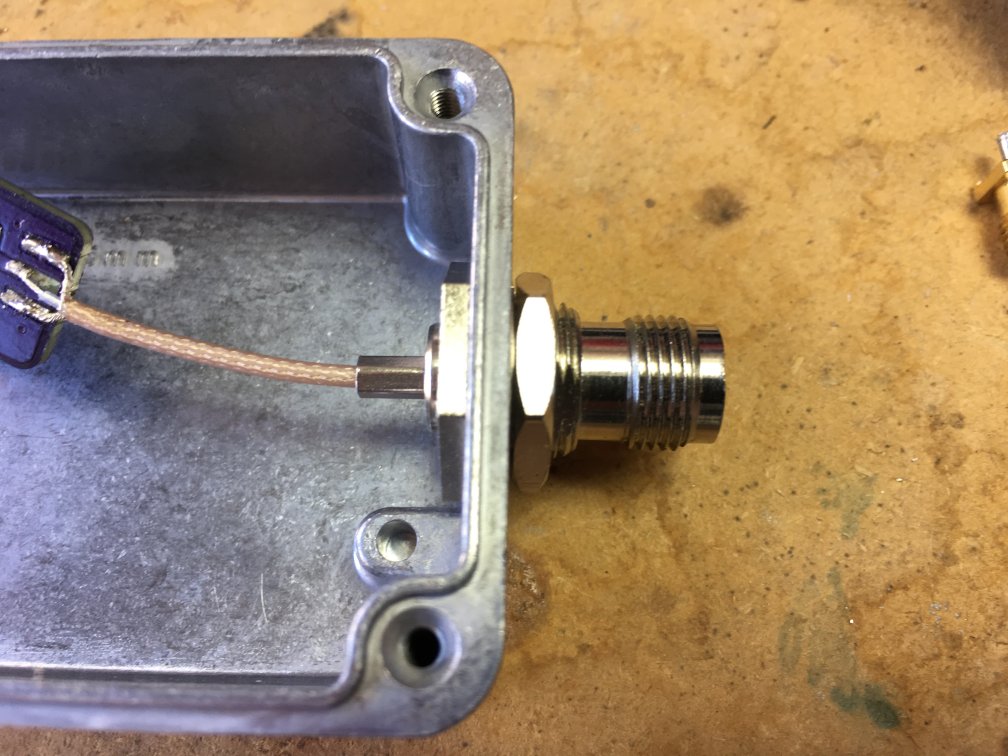
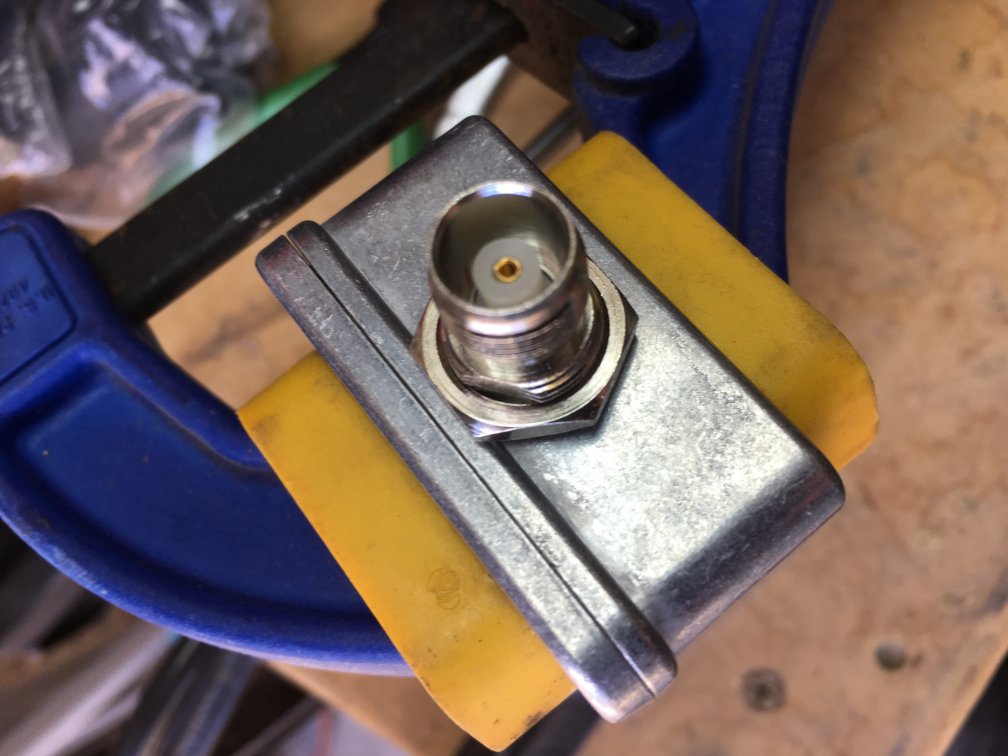
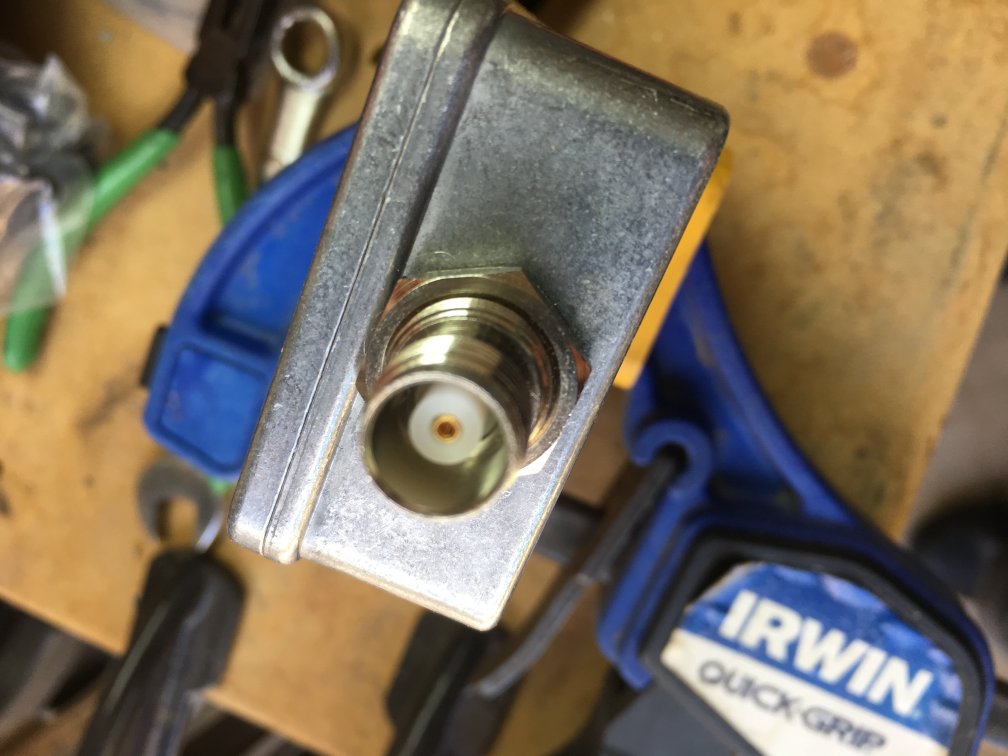
The TNC-f chassis mount bodies are just about as big as the sidewalls of the box, so aiming carefully is important. However, I miscalculate low on the first hole, and have to oval it just a hair to fit the body of the connector. The second hole I overcompensate, and it’s a little high. But, within 30 minutes I have the case drilled and ready for the filter/coax assembly.
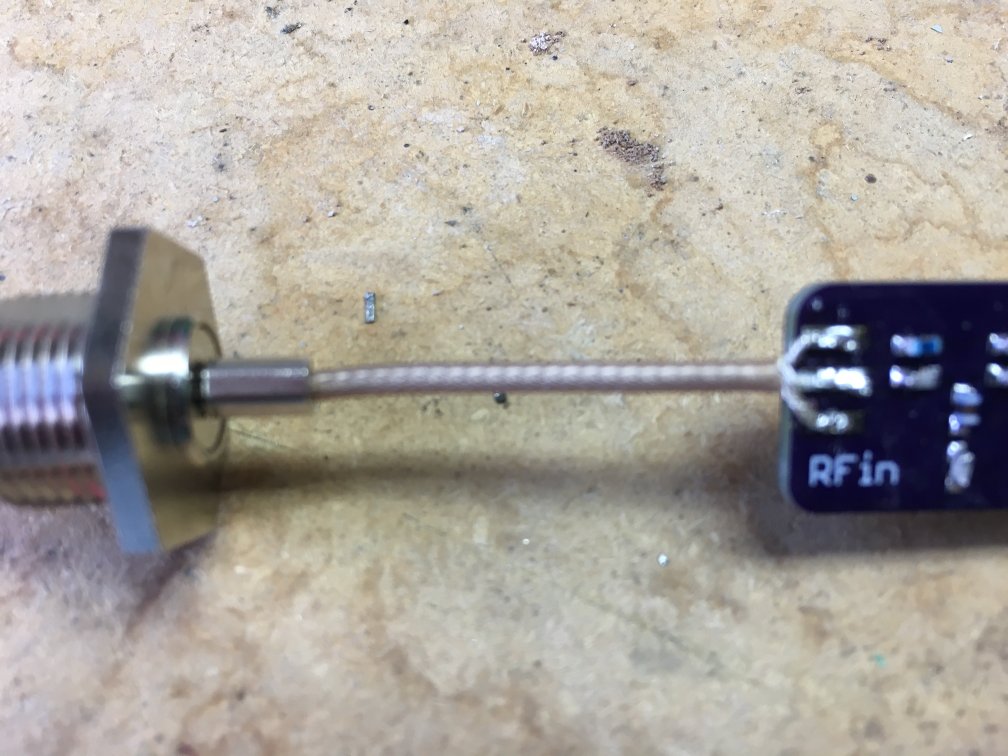
The little TNC coax pigtails came from a buddy of mine – he had a billion of them from some former project.
Before I take the filter off the roof, I measure it one more time while it’s foil-wrapped. Didn’t have a photo of the install from last night, so here it is today.
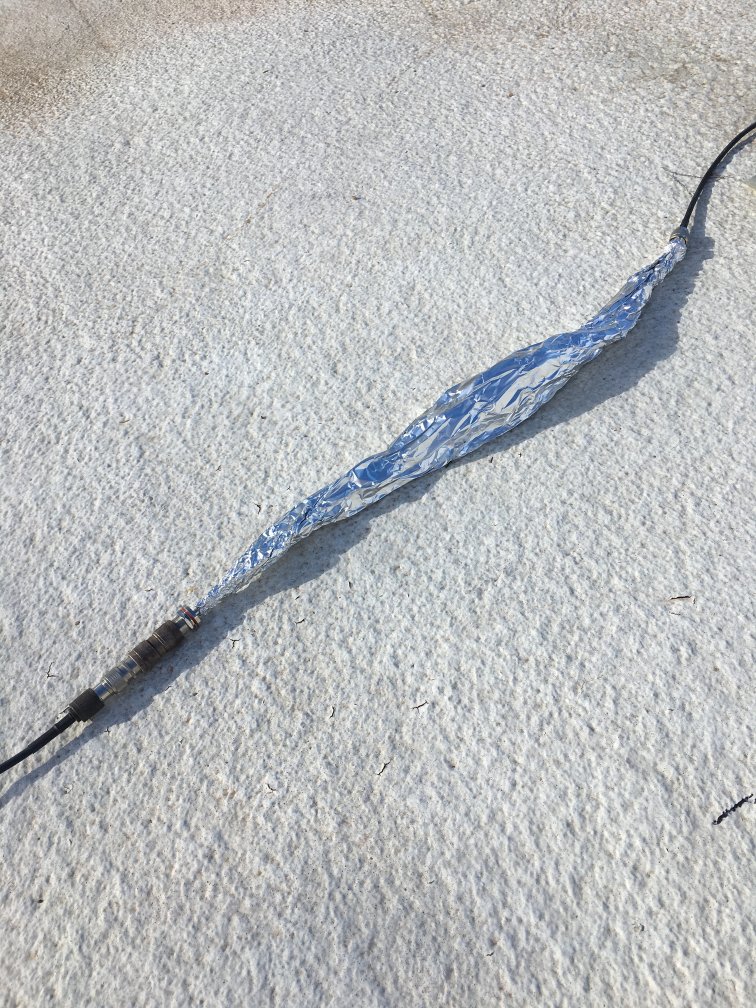
Kinda ugly, no?
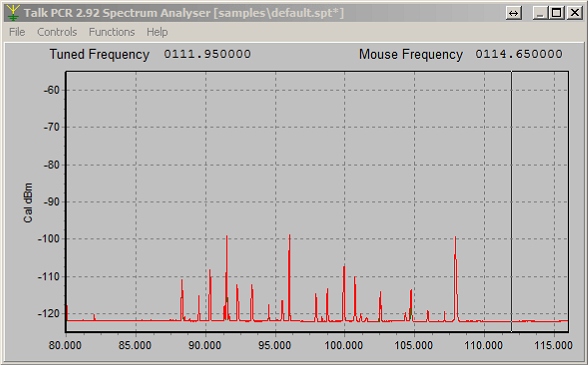
Using the Icom setup, it appears a little worse than yesterday night. Could be so for a number of reasons, including propagation, xmtr power output changes between night and day, or the foil moved a bit during the night. Not sure.
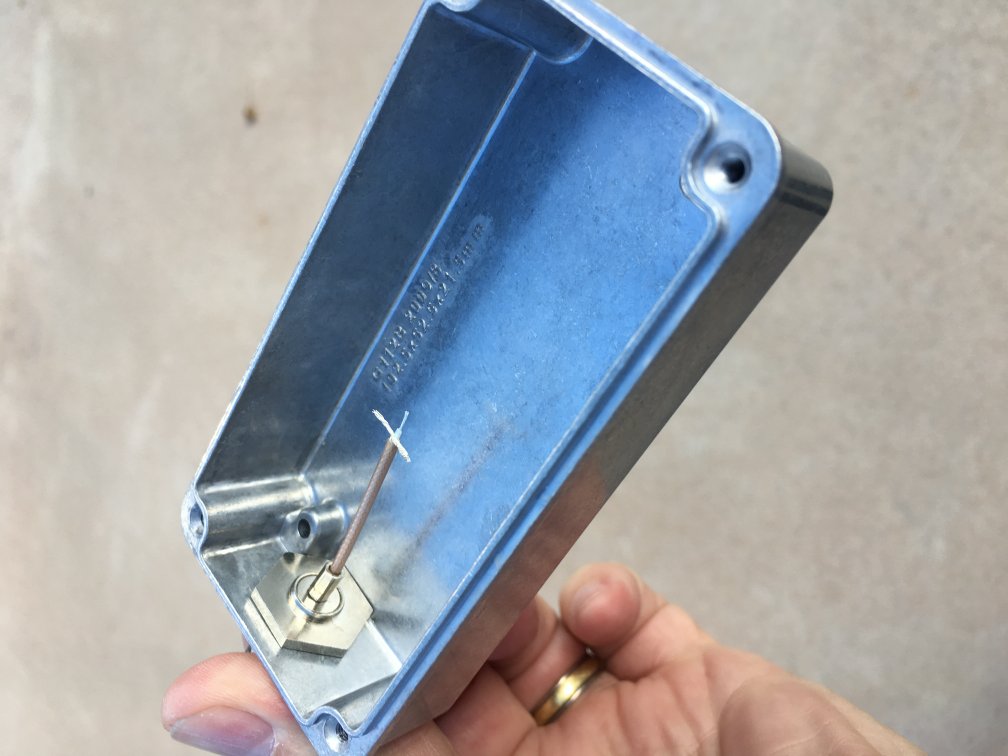
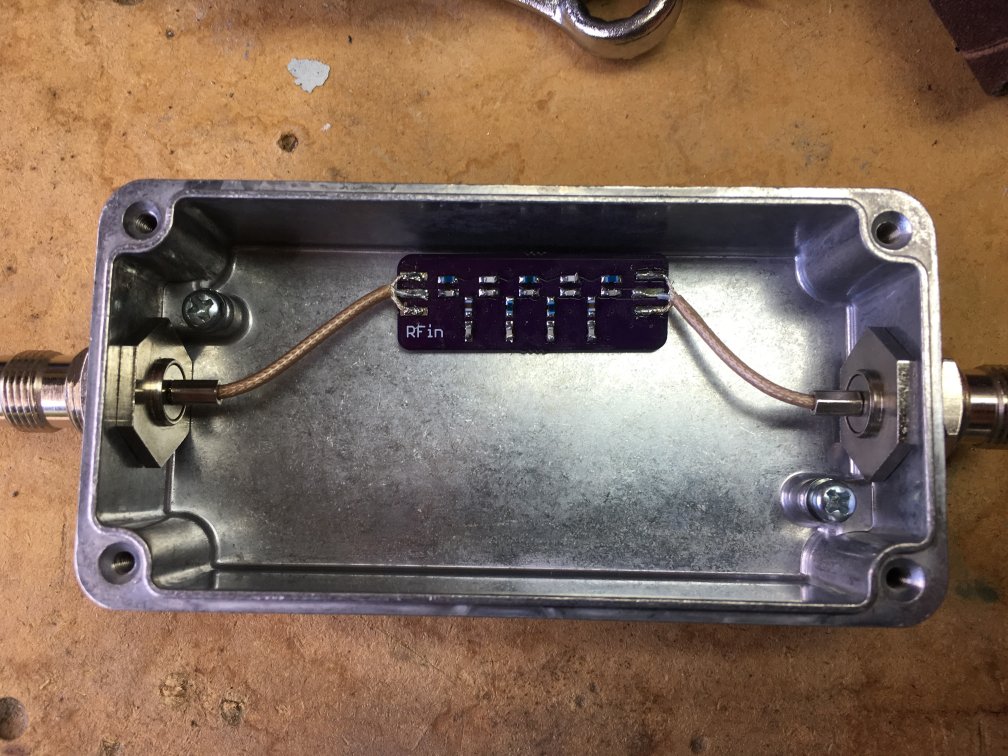
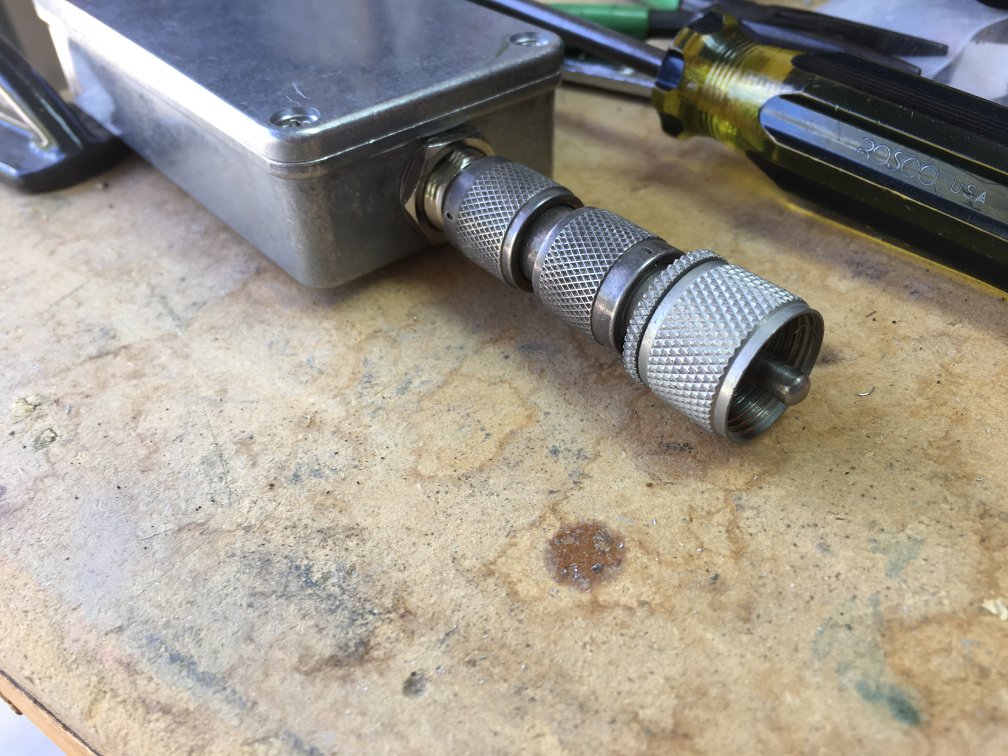
Taking the filter down off the roof, I cut off the SMA-f board mount connectors, clean off the excess solder, and prepare the TNC jumpers to solder directly to the board in place of the former connectors.
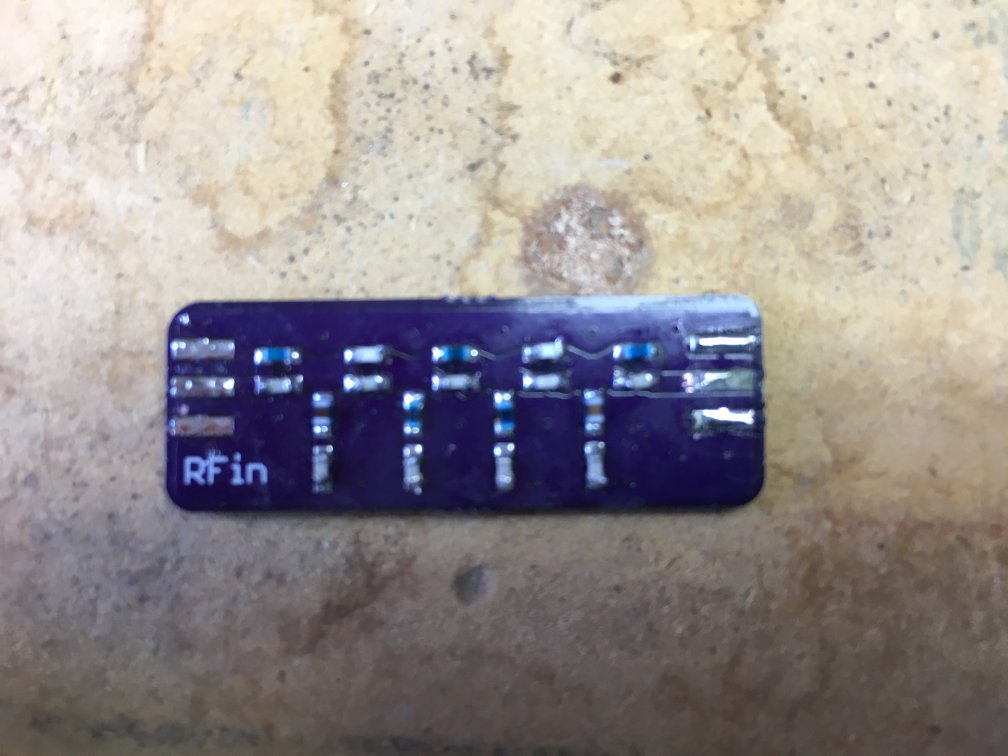
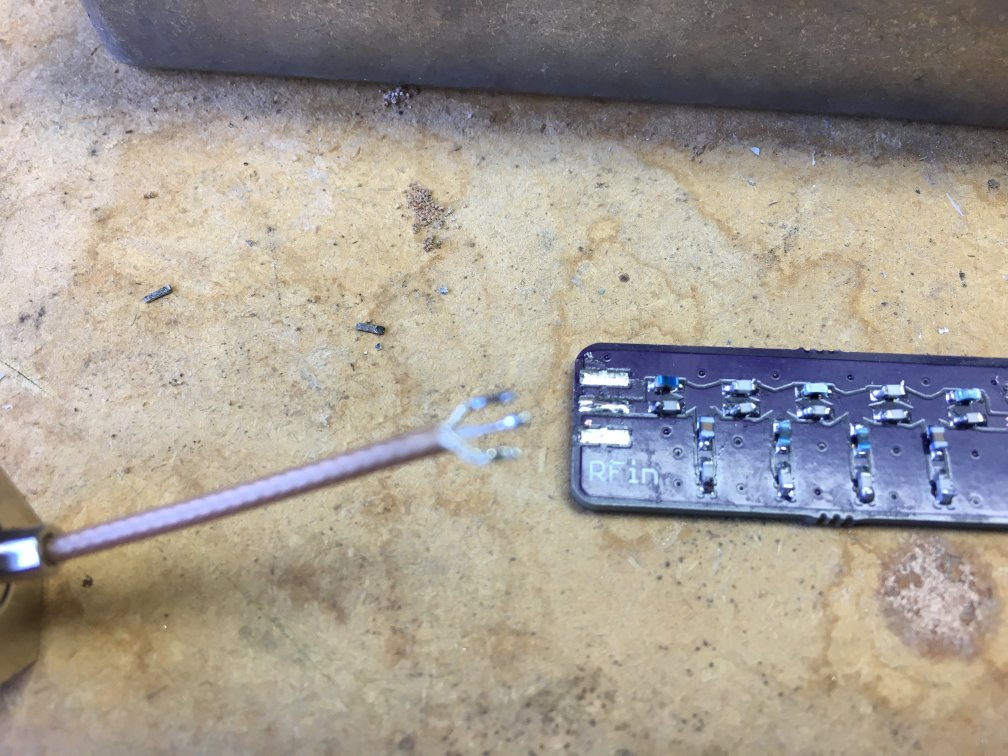
The reason I prepared the coax open end as shown in the above picture is apparent in the next photo when I solder the TNC jumpers to the filter board.
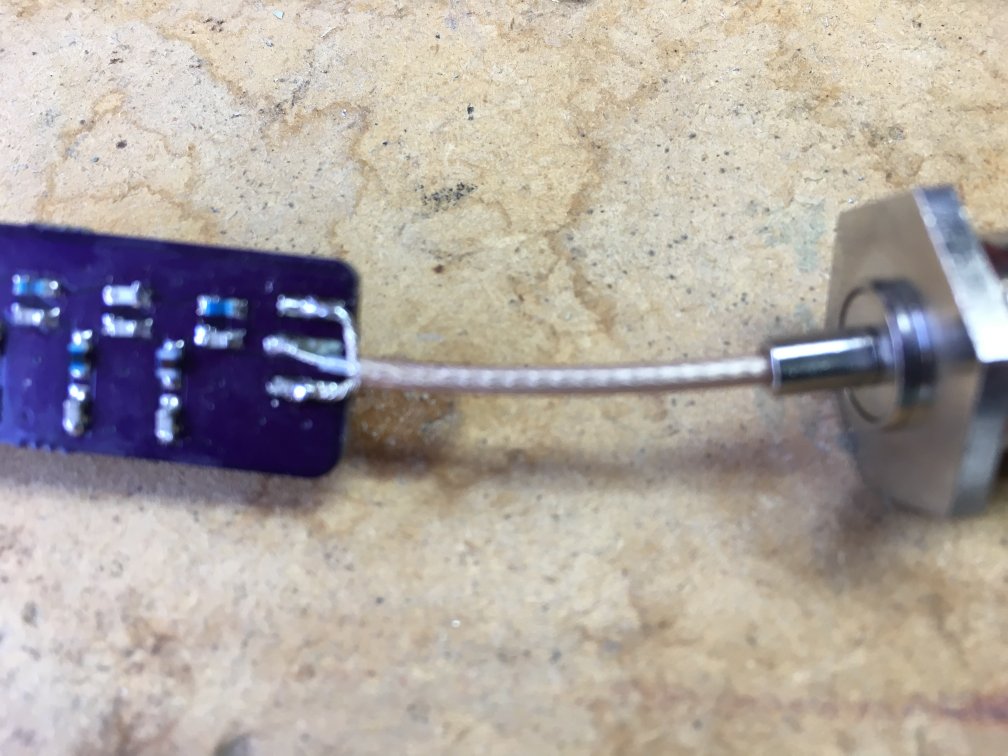

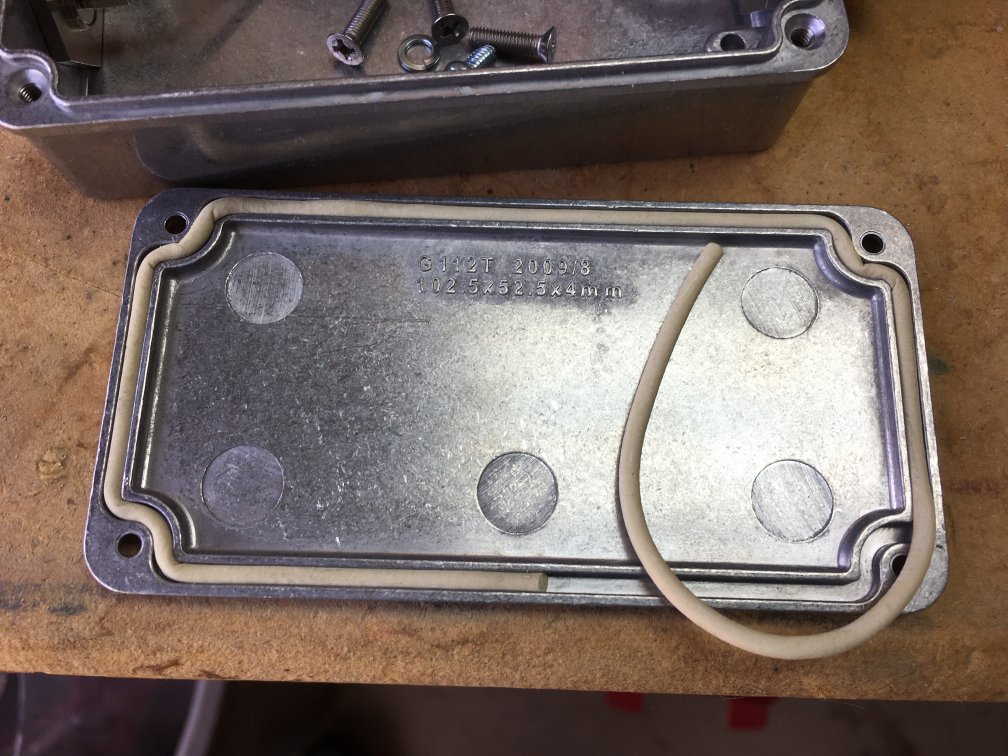
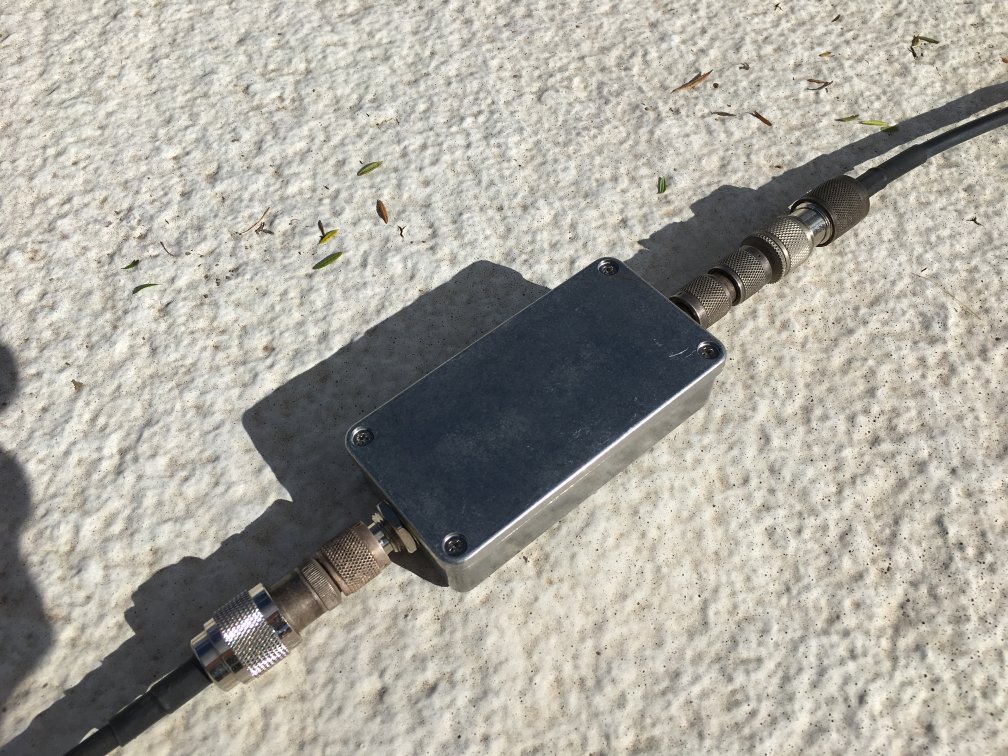
Now to install the filter and coax assembly into the enclosure and prepare the sealing gasket.
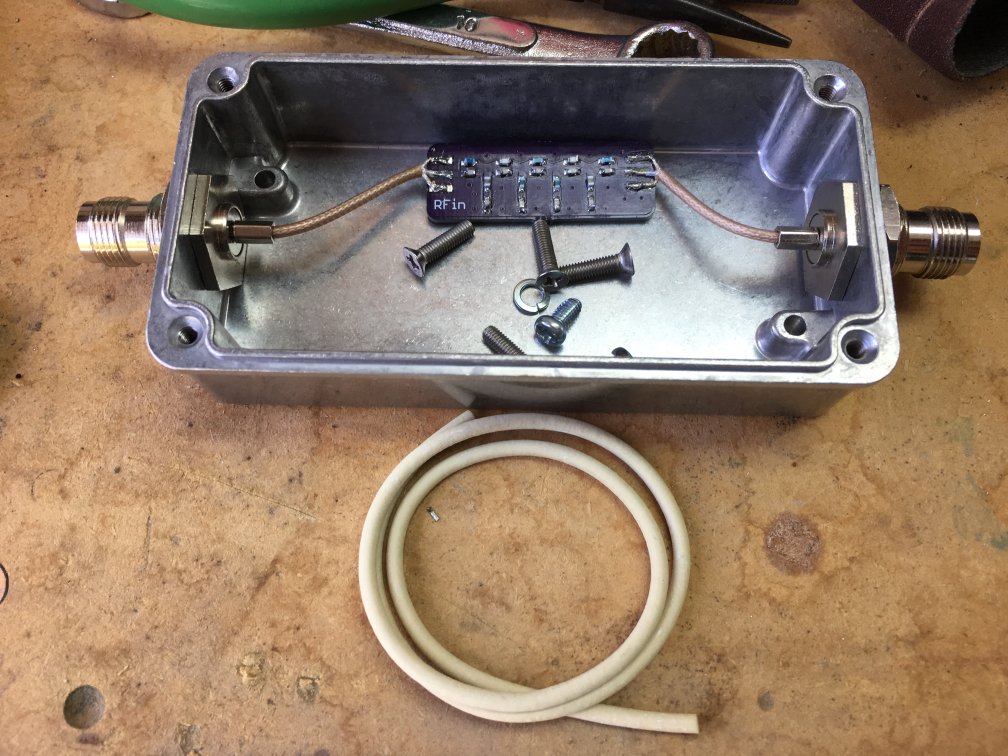
The box is almost ready to close up. Don’t want to lose the little screws that are intended to hold down a board inside the case so I install them now.
Next, put on the lid and tighten down the screws. Use a compression clamp to squeeze the case closed instead of making the screws do the work. Aluminum strips out very easily.
All done. Now, since the rooftop cable from the antenna is an N-m connector, and the feed down to the shack is currently a UHF-f adapter, I add those to the case.
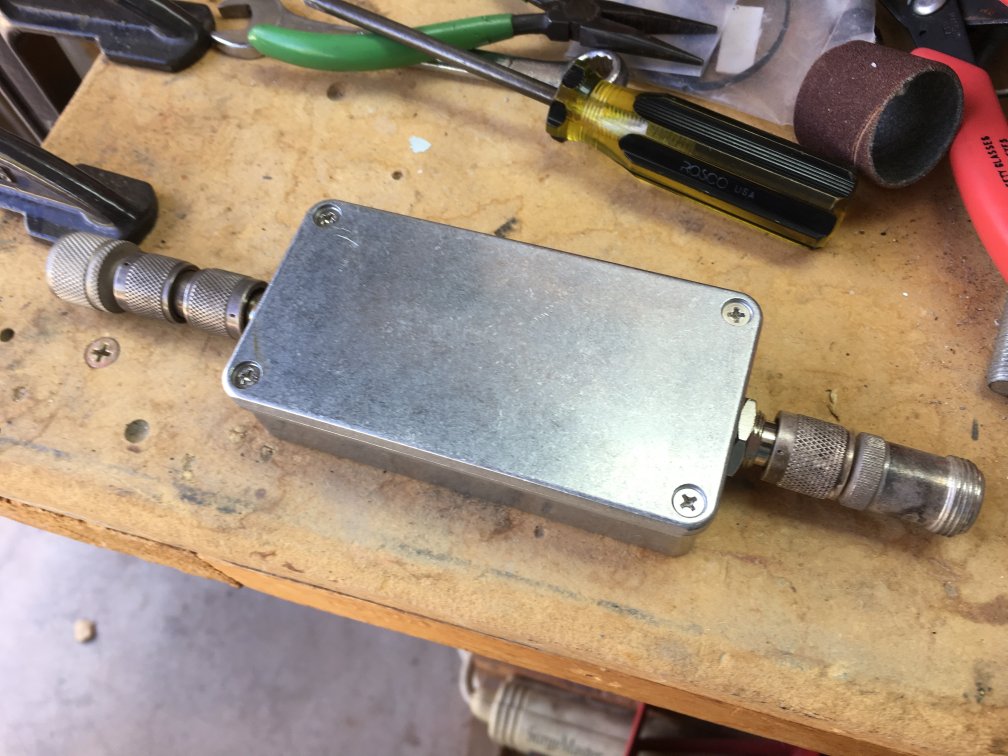
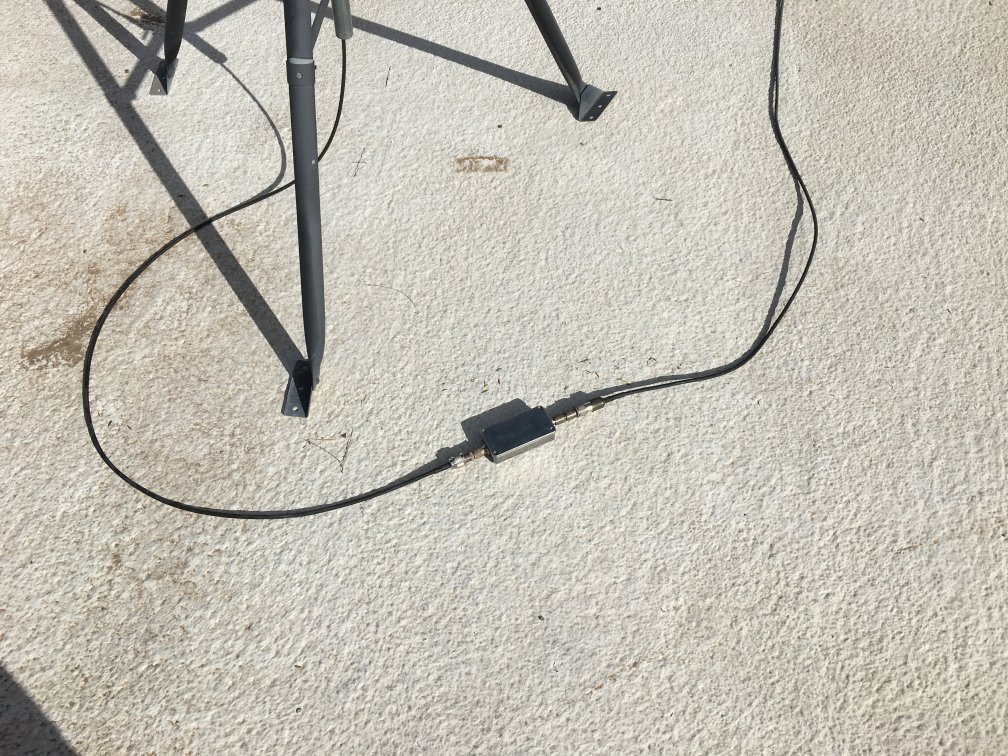
Voila! All done. Now, to the roof!
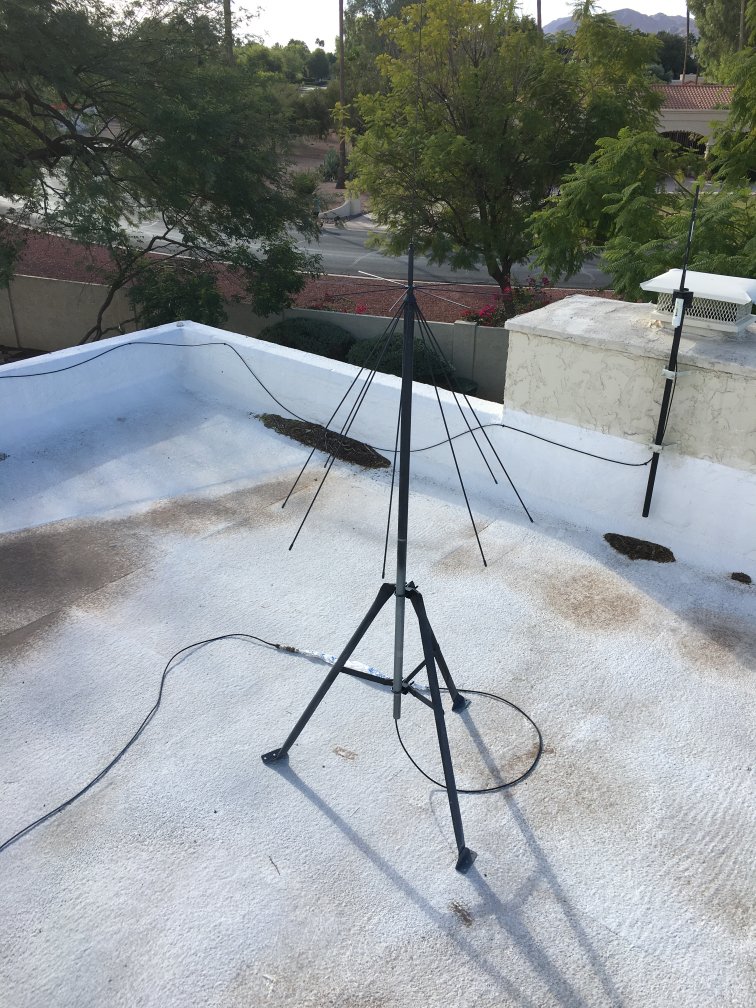
Here’s a shot of the discone up on the roof. The thing attached to the chimney is a 2.4 GHz Ubiquti 2.4 GHz Bullet M2 set up as an access point, so I can get Wi-Fi pretty much anywhere around the neighborhood.
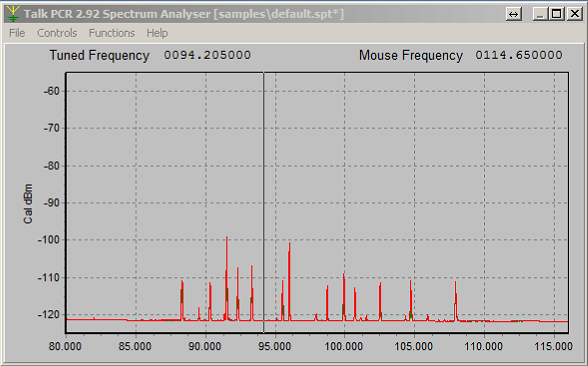
It does appear that the box is certainly no worse than the foil and at least for a few stations it’s actually improved on the rejection. That pesky 107.9 MHz station is down 10 dB with the box.
Since that wasn’t as hard as I thought it’d be, I need to order a few more of those nice little G112T boxes, or something similar!